Texture Tutorial

Tuesday, August 26, 2008

I've had inquiries on textures & a tutorial, so I decided to re post my previous tutorial & give it an exclusive spot!! I've included some examples of images with textures applied to show what wonderful effects can be achieved using textures as overlays!!

.hanging around...

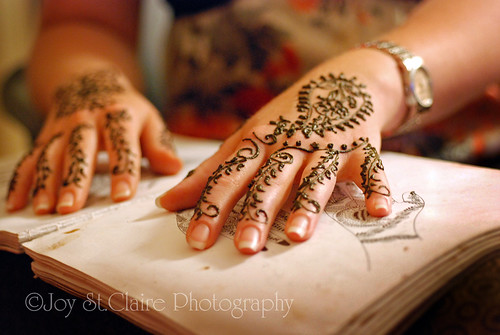
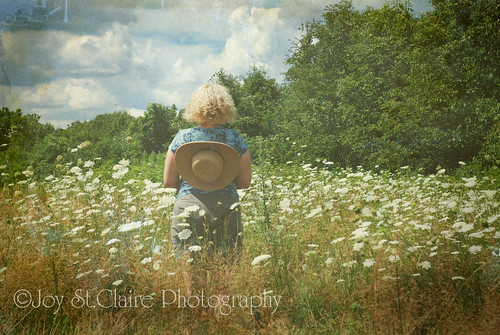
In the above image, I used a texture from my Whimsy set. I kept the blending mode at normal & reduced the opacity to about 30%.


~

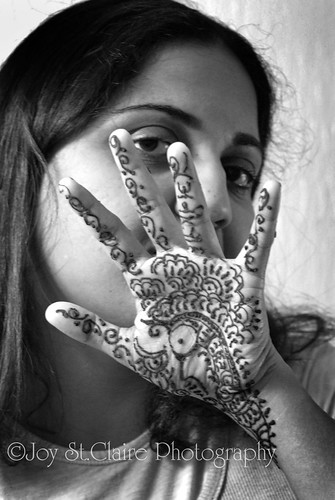
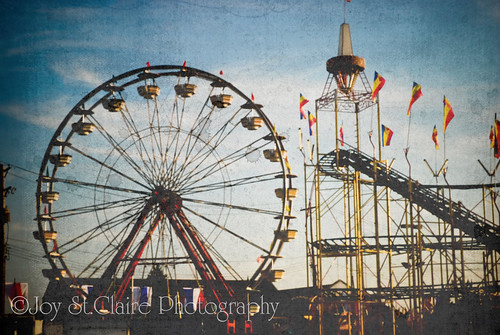
In the above photo, I used one of my favorite textures... it's from the Patterns & Swirls set. Again, I pulled the texture on top of my main image, kept the blending mode at normal & reduced opacity to about 45%. Different blending modes will give different results - some very subtle, some very pronounced. It's best to play around to discover the look you enjoy. I primarily use a texture in normal blending mode & reduce the opacity. So... Here is the basic texture tutorial!

BASIC TEXTURE TUTORIAL:
1) Open your main image (I use PS Elements5).

2) Open your texture.

3) Click on your main image to set as the background layer.

4) Pull the texture image up & onto the main image.

5) If the image needs resizing, click on image, resize, scale. Then drag the edges of the texture so it fits over the background image. Click on the check mark to set.

6) To the right, there is a blending modes drop down menu. Experiment with these to get a look you like. I often use Normal, Overlay, Soft Light & Screen.

7) Next adjust the opacity slider to better refine the look.

8) If the texture is applied over a face, you can erase the texture over the face area by using the eliptical marquee tool (pixels set to 60) to erase the texture. You can then use the eraser tool (strength set around 30%) to finish up.

9) Experiment, play around & have fun!

Henna

Saturday, August 23, 2008

.henna bokeh

Thursday evening, I had the wonderful opportunity to attend & photograph a henna party! A bride-to-be held the evening for her friends & herself to be adorned with henna designs. It was an intriguing & fun evening. The henna is combined with honey & spices to form a thick paste, which is applied to the hands (& feet) in various designs. The paste is left on for up to 24 hours & then is flaked or rubbed off. The resulting design slowly darkens (lemon juice & heat hasten the process). It is said the darker the design, the longer & happier the marriage will be!

I attended the wedding today, & the bride's design had gotten quite dark... so they should be having a happy, long marriage!!

.peacock for good fortune...

.designs...

.henna hands.

More from the Senior Session / Central Ohio Senior Photographer

Thursday, August 21, 2008


senior4, originally uploaded by ojoyous1.

Another shot from the senior session this past weekend. I have so many favorites already & I just started processing! It helps when you have a model who just knows how to pose!

Sneak Peek... / Columbus Ohio Senior Photographer

Monday, August 18, 2008


I love different & fun setting for portrait sessions... & I found a fabulous one on my way to a senior portrait session!! It doesn't get any better - a grouping of corrugated metal silos, & a barn with hay bales. Here are a few portraits from this fabulous session! I'm really loving these!


.Fair

Thursday, August 7, 2008

When I'm not busy with my fine art child & family photography (those rare moments!), I enjoy wandering through life snapping images that will become part of my fine art photography line. Here are a couple of those images. Today is such a glorious day, that I think I may play hooky from my processing & paperwork...... & run off to join the fair for the day!! I'd love to get some more fun fair shots!!

~

.wheel in the sky...

.carousel horse