"Savor the moments that are warm and special and giggly."
Tea Party
Monday, March 17, 2008
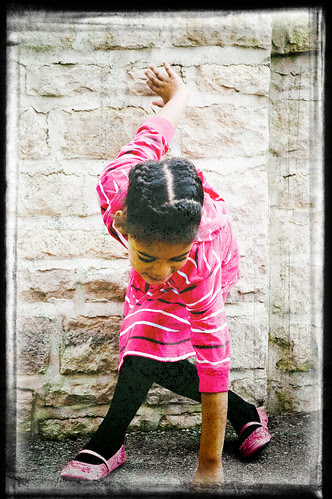
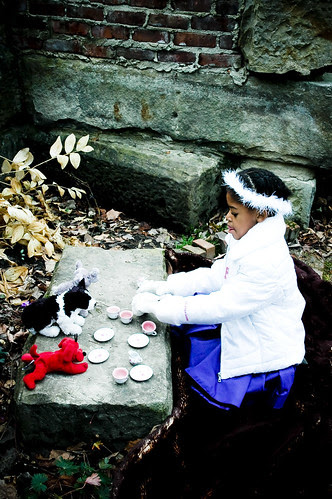
Another of my favorite sessions from last year... a tea party at Inniswood Metropark! It was a little cool, but we had fun wandering through the gardens, looking at all the fun things in the Sister's Garden. It's a magical place to wander, dream, have fun & imagine. A magical place for a tea party!
"Savor the moments that are warm and special and giggly."




"Savor the moments that are warm and special and giggly."
Hayfield Series / Central Ohio Family Photographer
Monday, March 10, 2008
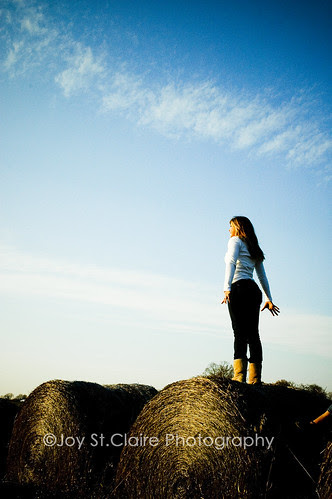
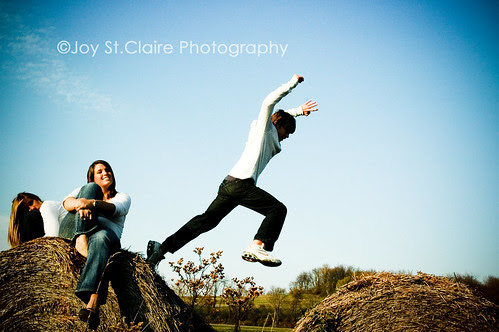
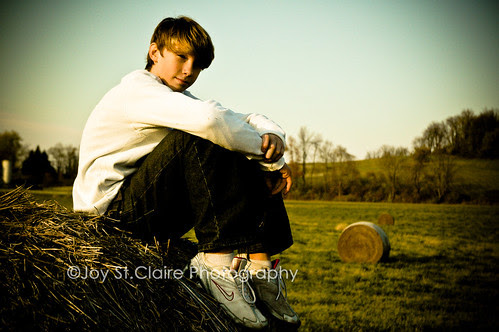
Last year, I had some wonderfully fun & creative sessions. I enjoy each session, as they are always unique & interesting. But some sessions especially stand out in my mind. I will be sharing some of my favorites in the coming days..... This session took place in Granville, Ohio. I call it the hayfield series! It was such a gorgeous day - a fabulous Indian summer day.... a perfect day for jumping around on bales of hay!


40% OFF SALE EXTENDED
Monday, March 3, 2008
OK, just for you very special Pay It Forward Bloggers, I'm extending my 40% off texture sale through Wednesday!!! I'm so passionate about textures, & want everyone to try them & fall in love with them... & what they can do for your images!! Try them - you will definitely fall in love! You can also use them as borders by pulling your photo on top of the texture!!
Basic texture tutorial:
1) Open your main image (I use PS Elements5).
2) Open your texture.
3) Click on your main image to set as the background layer.
4) Pull the texture image up & onto the main image.
5) If the image needs resizing, click on image, resize, scale. Then drag the edges of the texture so it fits over the background image. Click on the check mark to set.
6) To the right, there is a blending modes drop down menu. Experiment with these to get a look you like. I often use Overlay, Soft Light, Hard Light & Screen.
7) Next adjust the opacity slider to better refine the look.
8) If the texture is applied over a face, you can erase the texture over the face area by using the eliptical marquee tool (pixels set to 60) to erase the texture. You can then use the eraser tool (strength set around 30%) to finish up.
9) Experiment, play around & have fun!
